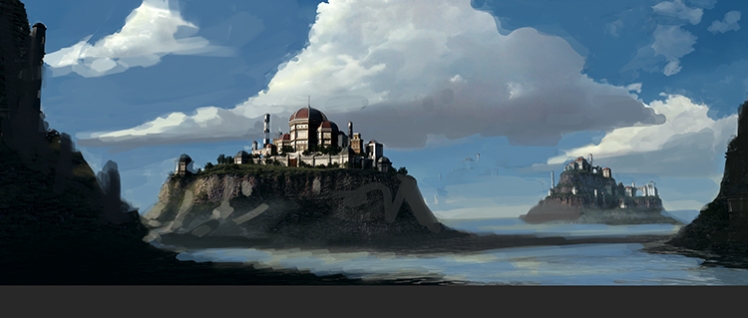
Fantasy Castle
Switching to HDR Lighting in Maya
Up to this point I’ve been using the Physical Sky and Sun for rendering out my scene. But it has it’s limitations. One being I can’t easily tweak the sky itself without affecting the sun, or another way to say I can’t easily adjust the sky fill in the shadows without affecting my key light. By switching to HDR Lighting, this will allow me greater control of my scene’s lighting.
First, we’ll need to get rid of our Physical sun node. Select your camera, then go Window—Hypergraph Connections. Select the Physical Sun and Sky node and delete it.

Now you’ll still have the sunDirection light from the Physical Sun node in Outliner. Since we’ve spent time positioning it, we’ll want to copy it’s position to the new Direction Light we’ll now create. Select the SunDirection Light in the Outliner, set a key on it’s values, and then right click to “copy selected” in the Channel Box those positional values.
Create a new Direction Light, and in the Channel Box, “paste selected” into the channels. The new Directional Light is in the same position as our Physical Sun light. Rename the new light “HDR_Sun”. Turn off visibility on our old Physical sun or delete it.

Under Shadows tab, Raytrace Shadow Attributes; Make sure Continue reading “Work In Progress, Part 7”