Gaea Mountains – LOTR Inspired Concept Painting

I’ve been watching Lord of the Rings: The Rings of Power and it got me wanting to create some mountains. I created this quick concept.

So, I opened up Gaea this weekend and did some quick mountains there. Gaea is great. Very intuitive and easy to use with it’s node based system.

Simple node setup

You basically keep adding nodes and moving sliders till you start getting something you like.

Gaea nodes

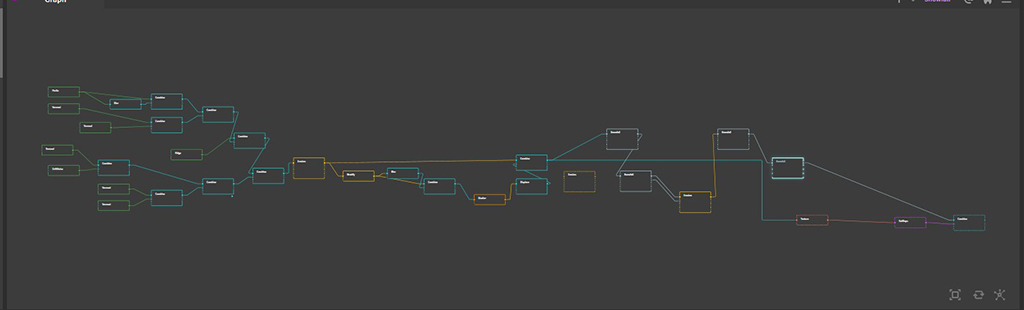
Once you get shapes then you can apply textures within it as well.

Gaea mountain with textures

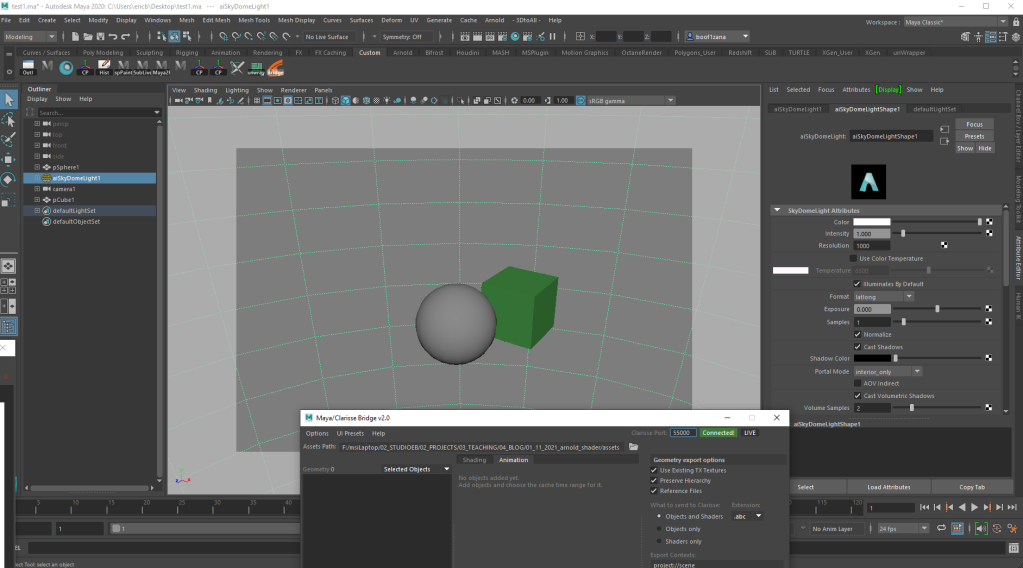
You just export out your maps and geometry and bring it into your program of choice. I went into Maya to design my shot.

Maya layout

Here is a simple render using Arnold to test look mountain.

Maya render with Arnold

Once I got the placement of geometry (you can use height maps as another method) in Maya, I exported it all over to Clarisse. Here I added volumes of mist and clouds using VDBs.

Clarisse for final and adding volumes

Here is the final raw render.

Clarisse raw render

I then wanted to add some little character traversing the land, so I exported out a ranger archer character from Mixamo and placed in the scene.

Mixamo Character

Little bit of Photoshop retouching and painting for the final.

Final Quick Concept Painting

A quick little Lord of the Rings-ish Mountain concept painting, definitely not a finished painting but was fun to put together for a few hours.

Maya/Clarisse Bridge 2.0

If you’re used to working in Maya and want something to help you port over files from it to Clarisse this tool is awesome.

Muhammad Etman created it. Here’s the gumroad to purchase if you like what you see. It’s $70 but for what it does it could really speed up your workflow into Clarisse.

What’s great is you can still set things up in Clarisse as you’d normally do but now you have the ability to just send over files you want from Maya easily. Update a camera in Maya, click to send over the camera. If you have a huge geometry set you want to port over now it just takes the push of a button to send it over. Now, you can manually setup your shaders in Clarisse or you can assign an arnold shader in Maya and port that over. Super handy.

Here is a great example of using it for a large scene.

Here’s the UI for it (you can set it up in different viewing modes)

Select the elements you want to port over, click “add” and then send it over to Clarisse. It’s that easy.

Maya file:

Simple click to send over the camera, light, and geometry with shaders

Clarisse file after sending over elements (3 clicks later):

Pretty slick and simple.

Take a look at it and see what you think.

Cryptomattes

I’ve heard of Cryptomattes a lot lately. My friend, Paul Rivera, first mentioned it to me for Clarisse and loving the ease of use. Then literally the next day in a tutorial I heard about them. And then a co-worker mentioned them about if we’d looked into them at my work.

icon-2

So I decided to dig into it a little. Cryptomatte is a tool created by Psyop studio as a way to automatically generate ID mattes using information available at render time. It works with motion blur, transparency, and depth of field. It was presented at Siggraph 2015. This tool has already been picked up by multiple studios and various packages. The nice thing is Psyop has kept this an open source tool. Here is a good intro to them: PSYOP releases Cryptomatte

So far, Clarisse, V-ray, Katana, Maya, Houdini, Blender, Renderman, Redshift, Arnold, Nuke, Fusion, and After Effects can use it.

You can download it on GitHub

It’s super easy to install in Nuke. Takes only a few seconds to setup.

Here’s a Redshift tutorial that was useful: Tutorial #15

A cool update to Cryptomatte looks like their’s a new release of OpenEXR plugin for Photoshop: EXR-IO 2

I’ll be digging into it more over the coming months.

Clarisse 3.0 and stuff

So Clarisse has released version 3.0 and have been promoting it all summer. This new version of the software is amazing. The team at Isotropix has done some amazing things in 3.0! They increased the speed of the application and added a whole new PBR rendering engine as well. Other new features are enhanced UI, UV baker, volumes defined byu surfaces, and many more.  Here are some videos they have posted to their newsletter.  Great review of it at 3d World magazine.

Also this is the last week before the new semester at CGMA fall classes (the classes start 10/15). Sign up here. I will be teaching a matte painting class again this semester.

Clarisse tutorials

So not much to report about besides I’m going thru Clarisse’s multiple tutorials which are great. I’m knee deep in one called the Island. It’s amazing. Once I get more of my feet wet then I’ll be able to show more.

This weekend, I saw Captain America: Civil War. What a great film and totally worth seeing in the theaters. For a 2 1/2 hour movie it flew by!

Clarisse…oh boy!

Well, I’ve been hearing more and more about Clarisse. My friends, Adam and Scott at other studios have been raving about it. My fellow co-worker, Danny gave me a quick little demo a couple weeks ago. I must say this program is amazing! Sad to say that I saw this program demo’d at Siggraph a couple years ago, and it looked impressive then. I don’t know why I didn’t investigate it then. My bad.

Clarisse is made by Isotropix. Basically it’s a combination of an animation package, compositing software, and 3d rendering engine. The nice thing is it’s very artist friendly and intuitive. It’s lightning fast rendering thru it’s built in CPU rendering engine and memory efficient processing of huge data is just mind blowing. You basically have instant visual feedback.

So I’ve only begun scratching the surface with this great new tool. I’ve been doing various tutorials so I don’t really have much to show. What I will do is show a little peek under the hood.

Basic Clarisse at startup

01_clarisse_startup

This is the Browser. It’s basically the Outliner Continue reading “Clarisse…oh boy!”